


March 30, 2025

12 min
Published: October 10, 2023
|
Updated: March 12, 2026
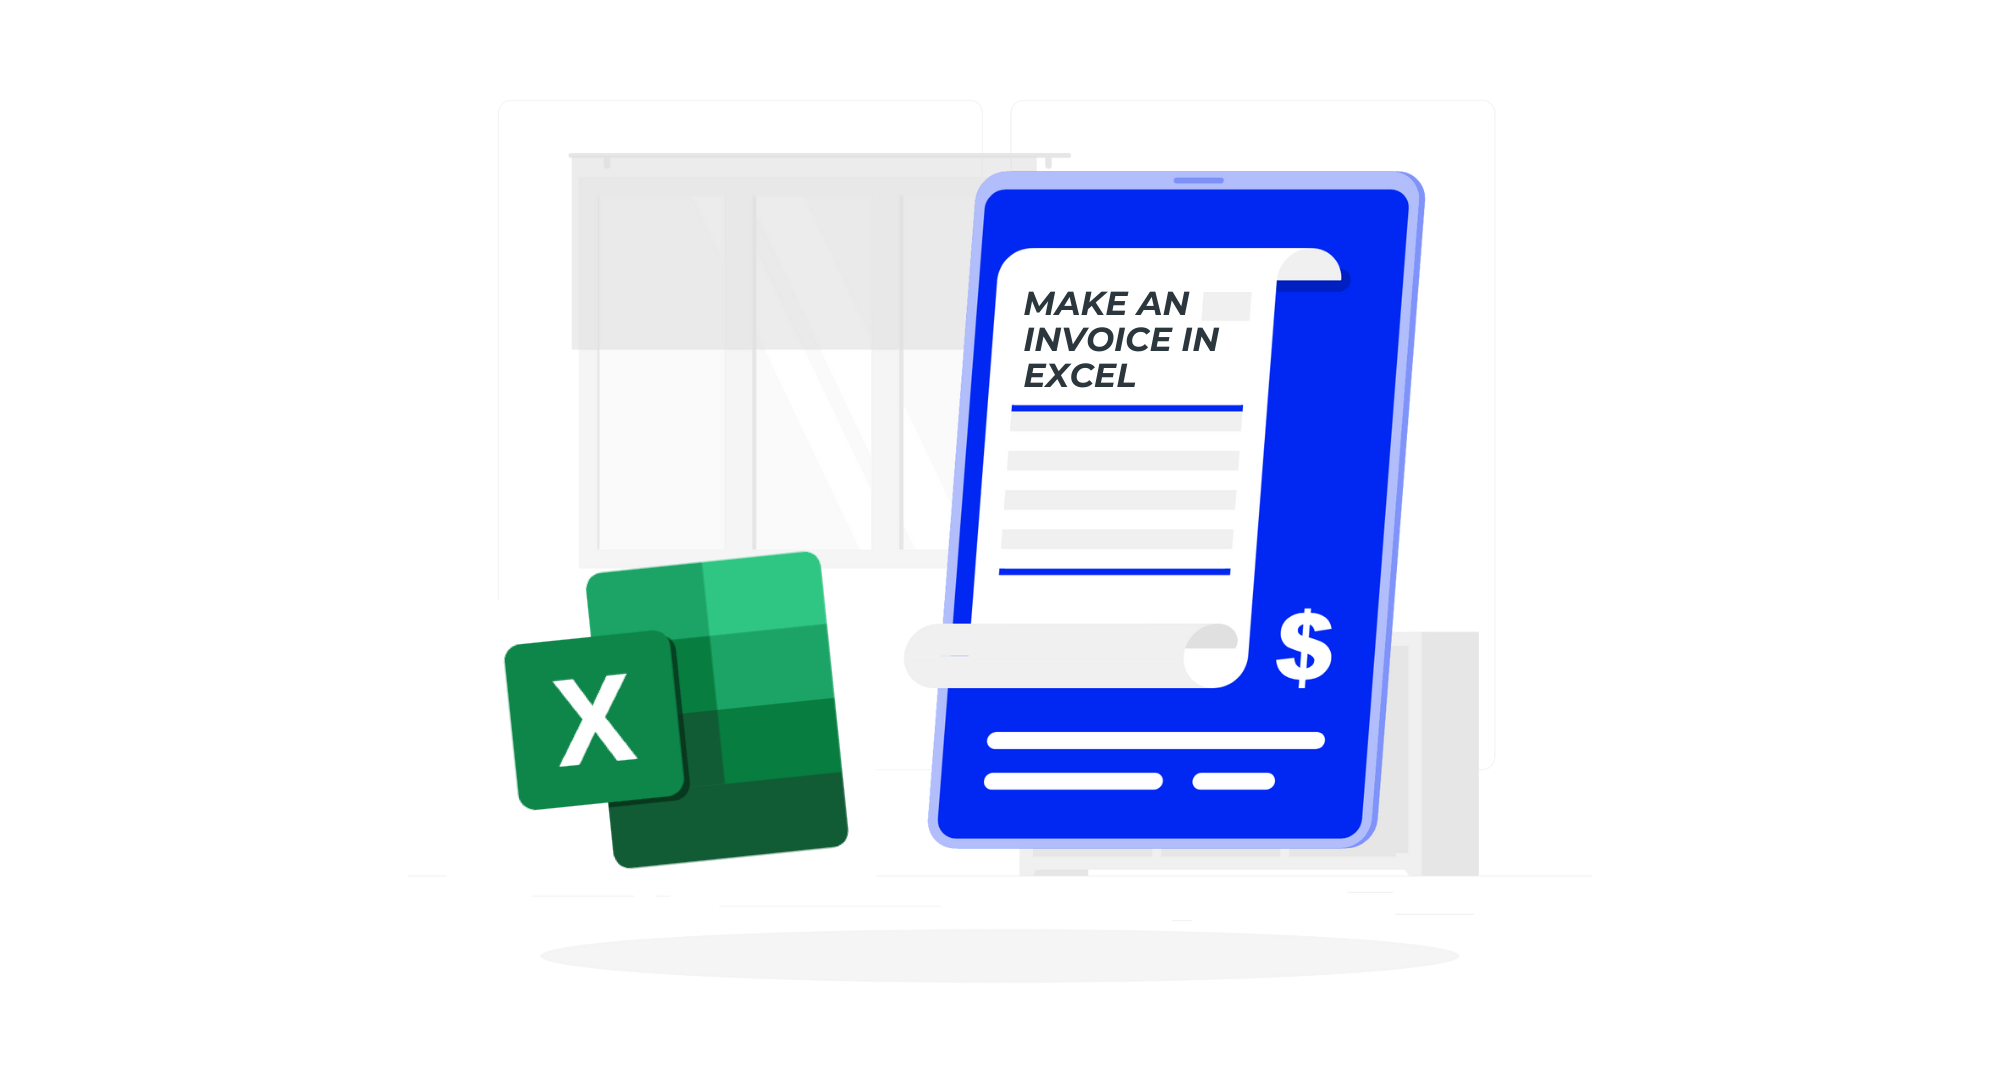
Invoices are one of the simplest documents that’ll ever cross your desk. Unfortunately, the same can’t be said for their creation process when even picking out your software is a headache.
You can design your invoices in Word, Excel, Google Docs, specialized invoice makers, draw your own… With so many options, it’s easy to feel spoiled for choice.
But that’s why we’re here. We’re creating a series of articles detailing the benefits, downsides, and best practices for each approach to help you pick out the best one for you. And today, we’re looking at Excel. So, without further ado, let’s jump right in.
Right off the bat, we’ve got multiple approaches to invoice creation to choose from (yay!).
There are 3 ways to create an Excel invoice template, including:
These options vary wildly in convenience, speed, bulk efficiency, and creative freedom. Naturally, this makes each a great fit for some specific use cases and a terrible one for others. With that said, let’s discuss them further in-depth and see which is right for you.
One of the fastest and most convenient ways of designing an Excel invoice template is to have someone else do it for you. Consequently, downloadable 3rd party designs are some of the most popular options on the market.
They come in various colors and layouts, making them perfect for nearly all industries and professions. Furthermore, they’re quick to download, easy to work with, and (perhaps most importantly) often completely free!
Five steps is all you need to get started with a professional, free invoice template. Just download your favorite design, open it in Excel, fill in the invoice, save, and hit send.

If you prefer to stick to the solutions you know and the classic designs that come with them, Microsoft offers its own set of free and premium templates as part of its MS 365 Template Gallery.
This approach has its fair share of benefits, including guaranteed compatibility, finding and opening templates directly from the search bar, and pre-made automatic calculation functions.
However, making your invoices in this way tends to be clunkier and slower. It also doesn’t lend itself well to bulk invoice creation. That being said, let’s look at how this process works.
1. Find your invoice template
If you choose not to use Microsoft’s online template gallery linked above, you can search for designs from Excel via the “Files > New from Template”.

This option will open a template viewer where you can browse pre-installed templates based on document type/use case or download new ones. Input the keyword “invoice” in the search bar to narrow your selection.
Afterward, you just need to find the invoice template right for you. Click the icon of whatever design seems right and take a closer look in the Preview. If you’re satisfied, double-click the icon, or hit “Confirm”.

2. Customize your invoice
Once your template is open, you can start filling in the invoice and tweak its design with the standard formatting options from the toolbar. Here, you can change font size and color, adjust cells, and even insert new tables and images.

3. Save the completed invoice
Finally, once you’re done, all you have to do again is save the file. You can do so from “File > Save As”.

At this point, you can set the Name, Tags, Location, and Format of your saved invoice. We recommend you keep the invoice under its number or the client’s name. It’s also best to save the document as a PDF for reasons we’ll explain soon.

Voilá, you’re all ready to go. All you need to do is attach the document to an email, send it to your client, and wait for the money to come pouring in.
If you want to learn how to write an effective invoice email, read the following article.
But let’s say that neither Microsoft’s nor any 3rd party’s invoice designs fit your branding. In that case, there’s only one option left – roll up your sleeves and put your artistry to the test by creating your own template.
Unfortunately, the uniqueness of the invoice is the only benefit to speak of. Designing an invoice in Excel from scratch is even slower and clunkier than with Microsoft’s templates – especially if you want to add custom functions. It also doesn’t fit bulk invoicing.
But if you’re just starting out, a simple Excel template is all you may need. So, let’s see how to make one.
1. Open a Blank Document
You can skip this step if Excel automatically opens a new blank sheet at startup. Otherwise, you’ll want to start by clicking File > New Workbook.

2. Remove Gridlines
This step is also optional. However, removing gridlines (i.e., cell borders) gives you a cleaner look to work with and makes for a more professional design for your customers to interact with. Alternatively, you can do it after finishing your template.
To remove gridlines, go to “Layout > View” and uncheck the box for Gridlines.
3. Create a Header
Second, you’ll want to design a header for your invoice. This portion of the document should feature several pieces of information:
Use the available fonts, colors, and sizes to match the invoice’s design to your company branding to reinforce recognition and strengthen positive associations.

4. Add Necessary Billing Information
Next, fill in the right side of the document with the necessary billing information to make your invoice legally binding. This section should include:

5. Insert Client’s Contact Information
Preface the next section with “Invoice to” or “Bill to” to clarify who’s the recipient and add your client’s information. Like before, this should include:

6. Insert a List of Provided Products/Services
Next, you’ll want to include an itemized list of all the products and services you’re billing your client for. Make sure to include the following information to make your invoice valid and as professional as possible:
If you’re wondering what a professional invoice looks like, check out our upcoming article. The easiest way of doing this is by a table with a row and column for each item via “Tables > New”.

Next to this option, you’ll also find the Table Styles feature, where you can change the color scheme to fit your design and branding.

7. Implement Functions to Streamline Work
One of Excel’s biggest advantages over other standard doc creators (Word, Pages, Google Docs, etc.) is its mathematical functions. There are many calculations you can create, varying in use and complexity.
However, the most useful one for invoices is the simple SUM function. You can use it to calculate Subtotals from units x unit price or Total by adding up Subtotals.

To implement the function, you need to input the SUM calculation in the function builder, located in the top row next to the fx symbol.
If we want to generate the Total automatically for this table, we’ll input “=SUM(H20:H23)”. In practice, we tell the function which cells it should add up and where it should input the result.

8. Add the Final Touches
At this point, your invoice is essentially finished. All that’s left to do is insert any additional information or design flairs to close off the document. This can include:

9. Save the Invoice
As before, with pre-made templates, you just have to click File > Save As and specify your invoice’s name, tags, location, and format.
Once again, we urge you to save the finished document as a PDF, though you can keep an XLSX/XLS copy to use as a sample or template for future invoicing.

One thing we’ve so far neglected to mention is the process behind generating an invoice number in Excel. And if you think that’s no big deal, you’re unfortunately very wrong. For example, did you know that according to Liberata, around 1% of all invoices get paid more than once?
While that number may seem insignificant, we can also read it as 1 in every 100 invoices. And when you think about how many invoices a bigger business issues every year, the problem suddenly becomes much more concerning.
We can blame various factors, but the most common cause by far is an invoice number error. So, next, we’ll discuss how to generate invoice numbers directly in Excel and some possible formats you can use. But before that, let’s answer.
An invoice number is a unique numerical identifier assigned to every generated invoice. Usually, it’s featured prominently in the document’s header, along with issue and delivery dates. It serves multiple purposes and has to fulfill several requirements to be valid.
Why Are Invoice Numbers Important?
Invoice numbers can come in a variety of forms and lengths. There’s no rule every business has to follow, so you’re free to choose whichever one fits your company and use case best. The 4 most common invoice number formats businesses tend to use include:
So, as you can see, invoice numbers are very important. Unfortunately, manually inputting them for each invoice you create can often result in mistakes such as the ones outlined above.
And while invoicing software like Billdu comes with invoice number automation from the get-go, Excel is not as user-friendly. Thankfully, you can set it up in just 6 simple steps:
STEP 1: Create a Starting Point
Decide on a starting point for your invoice numbers. For example, you might start with “INV-0001” or any other format you prefer.
STEP 2: Enter the First Invoice Number
Enter your starting invoice number in an empty cell in your Excel worksheet. Let’s assume you entered it in cell A1.
STEP 3: Insert the Formula for Generating the Next Invoice Number
In the cell where you want the next invoice number to appear (e.g., A2), enter:
“=TEXT(RIGHT(A1,LEN(A1)-4)+1,”0000″) & “-INV”.
This formula assumes that your starting invoice number is in cell A1 and the invoice number format is “INV-0001.”
STEP 4: Auto-Fill the Formula
Click and drag the fill handle (a small square at the bottom-right corner of the cell) down to auto-fill the formula for as many invoice numbers as needed. Excel will increment the invoice number in the specified format automatically.
STEP 5: Customize the Format
You can modify the formula accordingly if you want to use a different format or prefix. For example, to use “2023-0001” as your invoice number, input the following formula:
“=YEAR(TODAY()) & “-” & TEXT(RIGHT(A1, LEN(A1)-5) + 1, “0000”)”
STEP 6: Lock the Starting Invoice Number
If you want to prevent accidental changes to the starting invoice number, you can protect the worksheet by going to “Review” > “Protect Sheet.”
So, we’ve recommended that you save your final invoices in PDF format 3 times already. But why? Well, there are several reasons, and they include:
Although we’ve touched on the pros and cons of each approach to designing invoices in Excel, we’ve yet to speak about the software itself. It’s time we fix that. And so, without further ado, here’s the good, the bad, and the ugly of Excel invoice creation.
So, are you ready to start creating your own invoices and making money? If so, take a look at our wide selection of Excel invoice template designs. Or, if you’re the pragmatic type, you can find your perfect invoice sample based on your profession.

As you’ve seen, creating invoices in Excel can be (fairly) easy. But you know, it can always be easier. If you’re an efficiency snob or just have to make a lot of invoices regularly, you should know about Billdu’s Invoice Generator.
Our Invoice Maker is the perfect invoicing solution for businesses, both big and small, as it comes with many features a simple Excel template could never provide. Some of its biggest advantages include:
And the best thing is that you can now try any of our plans for 7 days completely free! So, what are you waiting for? The time to take your invoicing to the next level is now.

And there you have it. That’s everything you need to know about creating invoices in Excel. However, we’ve still not answered the question we asked at the beginning of this article – how should you choose to design your invoices?
Well, it largely depends on your use case.
If you only invoice once in a while, you should give Billdu’s Invoice Templates a try.
If you’re a small business but take your branding very seriously, designing your template is the way to go. And finally, if you’re a high-roller and have to make a lot of invoices often…well, our Invoice Maker is right there for you.
We hope you found this article helpful, and we’ll see you in the next one. Until then, take care, and best of luck in your invoicing!
Skip Excel and use Billdu for easy, error-free invoicing. Try it and save time!
 Free 7-day trialNo credit card requiredCancel anytime


Sign up now for a 30-day free trial and get 20% off on your first subscription
By signing up you agree to Terms of use and Privacy policy