
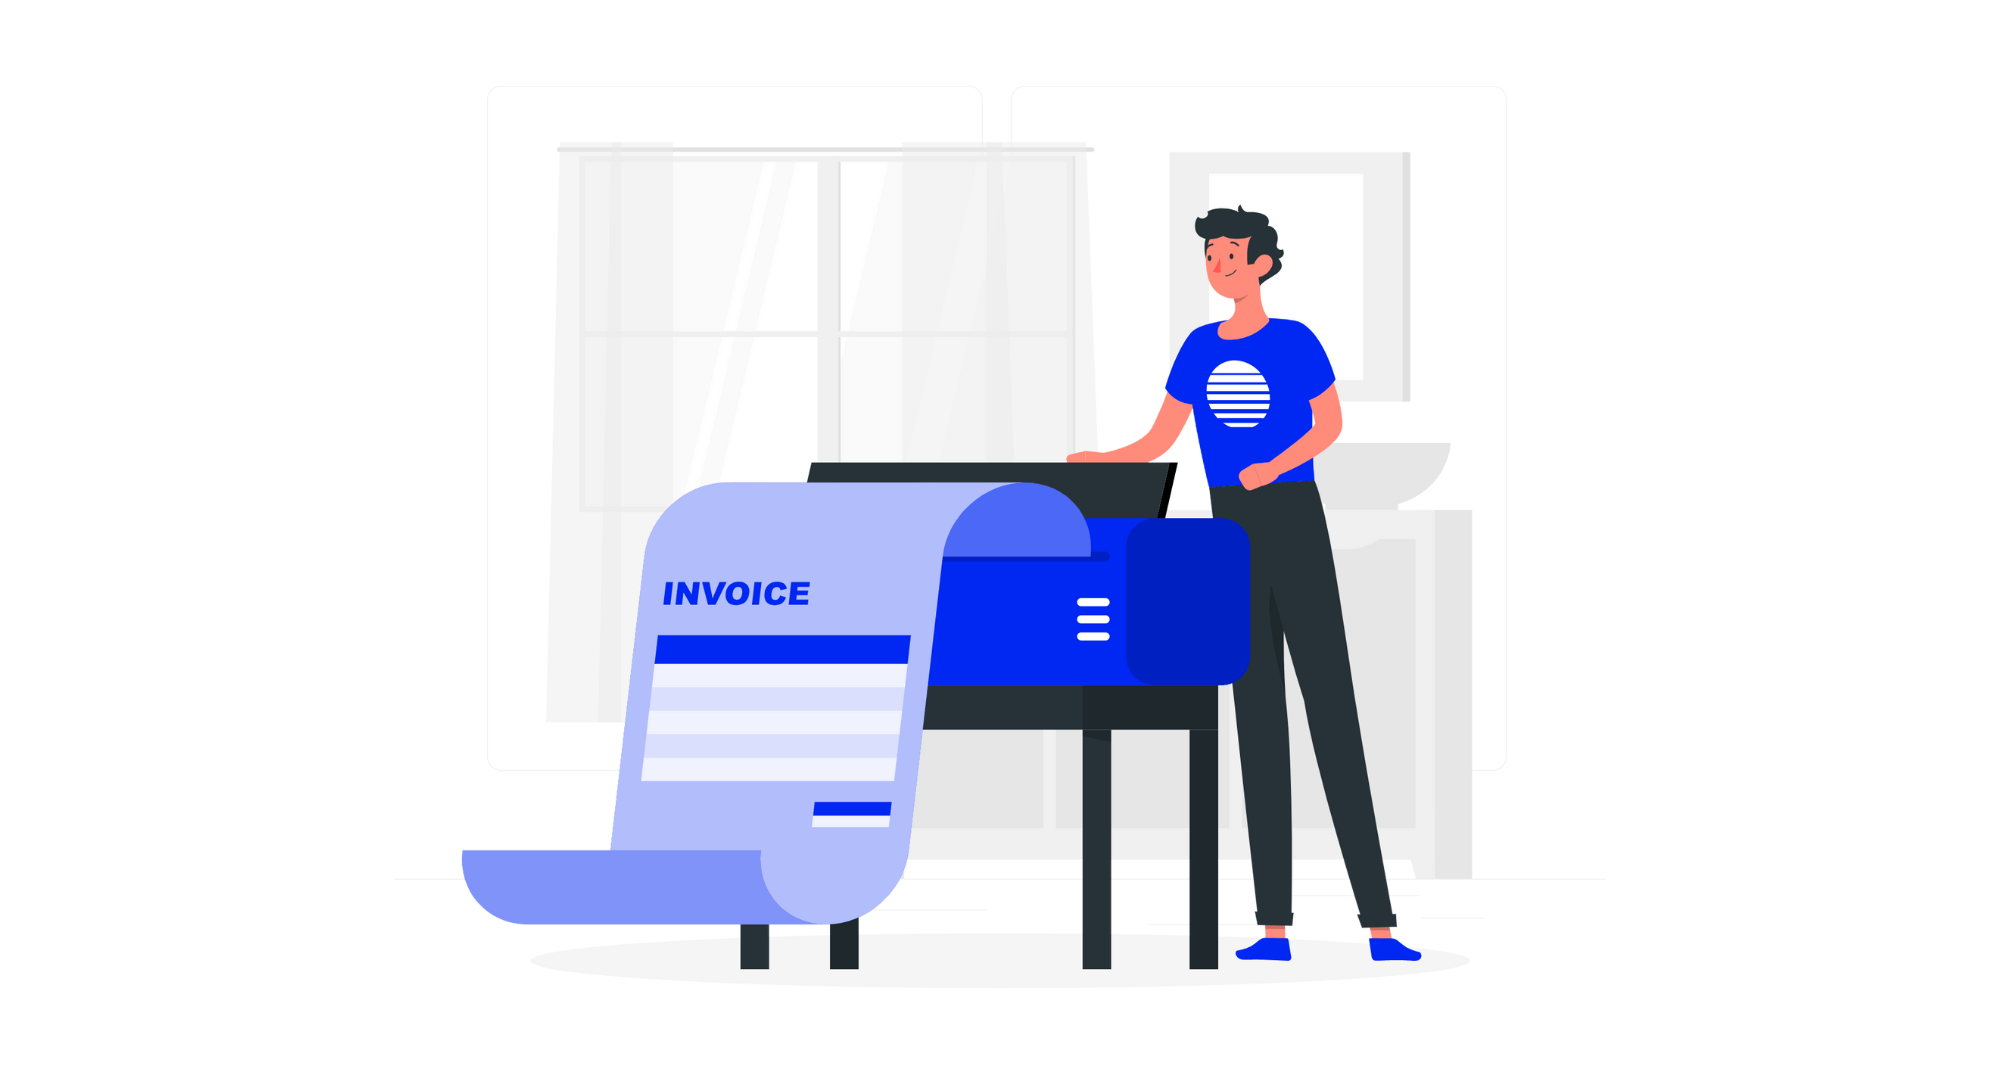
An invoice is a formal document a seller issues to a buyer to request payment for goods or services, and making one requires eight standard elements: your business details, client details, a unique invoice number, issue and due dates, itemised line items, a subtotal and total, payment terms, and accepted payment methods.
Most small businesses can make a professional invoice in 3–5 minutes using a template, a free online generator, or invoicing software. Doing it in Word or Excel from scratch takes around 10–15 minutes the first time. Whatever tool you choose, the process below works everywhere — the eight elements are the same in the US, UK, Australia, and the EU.
Attribute | Details |
Core elements | 8 required: business details, client details, invoice number, issue and due dates, line items, subtotal and total, payment terms, payment methods |
Typical time to make one | 30–60 seconds with an invoice generator; 3–5 minutes with a template; 10–15 minutes in Word or Excel from scratch |
Most common format to send | PDF attached to email; PDF shared via link; printable paper copy for clients who require one |
When to send | Same day you deliver the goods or service — invoice-timing is one of the strongest predictors of payment speed |
Legal retention period | US: 3 years (IRS) • UK: 6 years (HMRC) • Australia: 5 years (ATO) • EU: 6–10 years (varies by member state) |
Invoice number required? | Yes, everywhere. Sequential numbering is legally required for VAT invoices in the UK and EU; strongly recommended in the US, Australia, and Canada |
What is an invoice?
An invoice is a formal commercial document issued by a seller to a buyer that requests payment for goods or services and records the transaction for tax and bookkeeping purposes.
An invoice has three jobs. It tells the client what they owe, creates a legal record of the transaction, and triggers the client’s accounts-payable process so the payment actually happens. Without one, most B2B clients will not pay — their finance teams need an invoice to open a payment file.
Invoices are distinct from receipts: an invoice is issued before payment and requests it; a receipt is issued after payment and confirms it. For the full side-by-side breakdown, see our guide to the difference between an invoice and a receipt. Invoices also come in several varieties — standard, proforma, recurring, credit note, commercial — each with a specific use case, covered in our guide to the 20 most important types of invoices.
The 8 essential elements every invoice must include
Every professional invoice must include eight standard elements: your business details, the client’s details, a unique invoice number, the issue and due dates, itemised line items, a subtotal and total, the payment terms, and accepted payment methods.
Miss any one of these and the invoice risks being rejected, delayed, or disputed. Below is the anatomy — with the rule for each element and one example. For the deep dive on each field, see the complete invoice anatomy guide.
1. Your business details
Include your trading name, address, business registration number (if you have one), email, and phone. If your business is VAT-registered, include the VAT number here. Sole traders should use their full legal name.
2. The client’s details
Full legal business name, billing address (not necessarily the trading address), the specific contact person in their accounts-payable team, and their email. Confirming the accounts-payable contact with a new client before the first invoice is the single fastest way to avoid “it went to the wrong person” payment delays.
3. A unique invoice number
Every invoice needs a unique identifier in a consistent format such as INV-2026-0001. The format can be sequential, year-sequential, date-based, or client-prefixed. For the full breakdown of six valid formats and the legal rules in each country, see our full guide on what an invoice number is. Never reuse an invoice number, even across tax years.
4. The issue date and the due date
Two separate dates. The issue date is the day the invoice is created and sent. The due date is when payment is expected. Use an explicit calendar date for the due date (“Due: 15 May 2026”) rather than just “Net 30” — specific dates produce faster payment. For a full explanation of payment-term options, see the guide to invoice payment terms.
5. Itemised line items
One line per product or service. Include a specific description (“Brand strategy workshop, 4 hours”, not “consulting”), the quantity or hours, the unit price, and the line total. Vague descriptions are the single most common cause of invoice rejections in accounts-payable systems.
6. Subtotal, tax, and total
Show the subtotal of line items, any applicable tax (VAT, GST, sales tax) as a separate line with the rate shown, and the grand total in bold or a larger font. Tax line must be shown even if the rate is 0% — it demonstrates that you checked. For full professional layout conventions, see what a professional invoice template looks like.
7. Payment terms
State the number of days the client has to pay (Net 15, Net 30, Due on receipt), any early-payment discount, and any late-payment fee. “1.5% per month on overdue balances” is enforceable in most jurisdictions and materially improves on-time payment rates.
8. Accepted payment methods
Tell the client exactly how to pay you. Bank transfer (with account number and sort code or IBAN/SWIFT for international), card payment, a direct payment link, PayPal, or any other method you accept. Invoices with a clickable payment link get paid notably faster than those that require the client to set up a transfer manually.
What Does an Invoice Look Like?
Next, let’s look at what “invoice” means when put into practice, or better yet, how it looks. Invoices have to contain a lot of important information to be legally binding. Below, you’ll find everything you should include on your invoice – numbered and explained accordingly.

- Invoice Number & Name:
Each invoice must include a unique identification number. Typically, this combines the year and the invoice’s number (i.e., 2023001).
Furthermore, depending on the customer’s country of origin, you may need to use a different name for the invoice according to local legislation — for example, VAT invoices in the UK or tax invoices in Australia and New Zealand. - Your Business Information:
All your invoices must include your business information, including your company’s name, address, contact information, and identification number. - Customer’s Business Information:
Similarly, as in the previous step, you’ll want to include your customer’s company’s name, address, contact information, and identification number.
Furthermore, depending on the customer, you may need to include a TIN (tax identification number). This is particularly relevant for non-profit and child-care service industries. - Issue & Delivery & Due Date:
Each invoice must include when it was issued and delivered for legal and taxation purposes. - List of Services or Products Delivered: To help your customers rest easy knowing that you’re not scamming them, you should include a list of all products or services provided, their amount, price per unit, and total price per item. You can also add a description underneath each item to make the invoice (and price) as clear as possible.
- Total Price:
Your invoice should include the total price at the bottom of the page and any taxes or extra costs the customer needs to pay.
How to make an invoice in 8 steps
To make an invoice, gather your business and client details, assign a unique invoice number, set the issue and due dates, list itemised services or products, calculate subtotal and tax, state payment terms and methods, save the file as a PDF, and send it the same day the work is delivered.
The same eight steps apply whether you’re using a template, a generator, or full invoicing software. The difference is how much each tool automates. For ongoing invoicing across multiple clients, automatic payment reminders take the chase-for-payment work off your plate.
Step 1 — Start from a generator (don’t build from scratch)
Creating an invoice from scratch in Word wastes time and introduces errors. Use Billdu’s free invoice generator to skip the layout work entirely — it pre-fills the structure, auto-numbers the invoice, calculates totals, and exports a clean PDF. Pick a format once — the same one for every invoice — and stick with it.
Step 2 — Add your business details
Your full business name, trading name, address, email, phone, and (if applicable) VAT or tax registration number. This block goes in the header, typically top-left. Upload your logo if you have one — branded invoices signal professionalism and are paid on average 5% faster than unbranded ones.
Step 3 — Add the client’s details
The client’s legal business name, billing address, accounts-payable contact person, and their email. Verify this block with a new client before sending the first invoice — wrong details here are the #1 reason invoices get returned from AP departments.
Step 4 — Assign a unique invoice number
Use the format you committed to in Step 1. Most small businesses start at INV-2026-0001 and increment by one. For the six numbering formats and rules — including the UK/EU requirement for unbroken sequential numbering — see the dedicated guide. Invoicing software handles this automatically.
Step 5 — Set the issue date and due date
The issue date is today. The due date follows your payment terms (Net 15, Net 30, or a specific calendar date). Net 30 is the default for most B2B work; Net 15 is common for freelance. Write the due date as a specific date (“Due: 15 May 2026”), not as a number of days — specific dates produce faster payment.
Step 6 — List itemised line items and calculate the total
One row per product or service. For each: specific description, quantity or hours, unit price, line total. Below the items: subtotal, tax as a separate line (even if 0%), and grand total in bold. Let the invoicing tool calculate — manual maths in Word is where errors happen. If you invoice the same client on a recurring basis, set this up once with recurring invoices and the tool handles every future one.
Step 7 — State payment terms and methods
Add the payment-terms block: number of days, early-payment discount (if any), late-payment fee (if any), and every accepted payment method with the details needed to pay. If you accept online payments, include the direct payment link here — it’s the single biggest lever for getting paid faster.
Step 8 — Save as PDF and send
Save the final invoice as a PDF (not Word or Excel — clients may not be able to open editable formats, and editable invoices can be altered). Send it the same day the work is delivered. Then use invoice tracking to confirm the client opened it, and set a payment reminder for three days before the due date.
Optimize your invoicing process with Billdu!
Invoicing, expense tracking, quotes, automation.
Learn why Billdu is one of the most popular invoicing apps in Australia.


